Installing Paint.NET in Windows 8
Paint.NET is highly recognized image editor used by millions across the world. Be it Windows 7, Windows Vista, Windows XP, or, even older, Paint.NET has always taken its fixed place. Now, when Windows 8 is on the door, it is again is ready to grab a fixed place in my PC.
It is something of a beautiful breed between Photoshop and Windows Paint. Paint.NET is just so perfect for all the users who need the best of both worlds i.e Photoshop, Windows Paint. It is undoubtedly a magnificent freeware.
Also check out our post on Install Firefox in Windows 8.
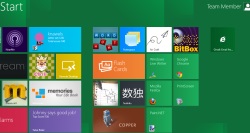
Installing Paint.NET in Windows 8 is as same as it is to install in other Windows operating systems such as Windows XP, Windows 7, and more. The one shot difference is with its location. As soon as you install Paint.NET in Windows 8, it will get connected to the rest of the Windows 8 apps like this:
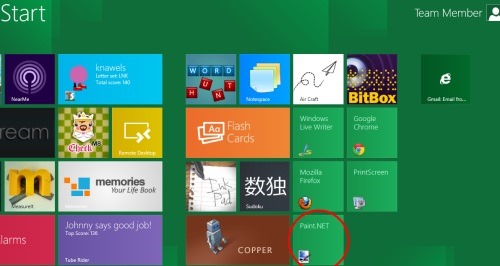
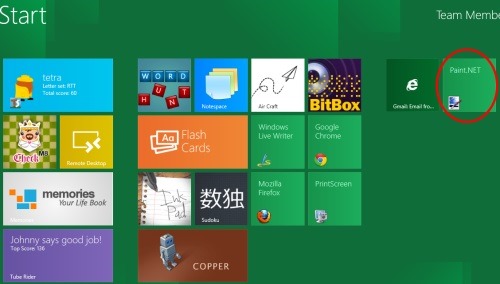 The best part about installing it Windows 8 is that, you can drag and shift the installed Paint.net to the same location where all other Windows 8 apps have been placed. Take a look over the screen-shot —
How To Download and Install Paint.NET in Windows 8:
- Go onto the given link.
- As you scroll down, under the column “Download”, click on “Download Now” box like this:

- You will taken to a page where you can download Paint.NET. Right Click –> Save as, on “Paint.Net v3.5.10” given at the top right-side in the page. Take a look over the screen-shot —

- You need to extract all the files since the downloaded file is Zip file.
- Click on the Paint.NET setup to run it.
- Paint.NET will soon get installed as you proceed with on-screen instructions.
Yup…there you are. You can now start editing images. Go ahead and update your all new Windows 8 operating system by downloading Paint.NET.