How To Create Backup In Windows 8
Here is a quick guide to how to create backup in Windows 8. Windows 8 does not have any option to create backup through file history feature on your local drive. However, if you want to create backup of data, you can perform the task easily but with little bit of guidance.
Let’s go ahead and read how is it possible to create backup in Windows 8.
How To Create Backup In Windows 8:
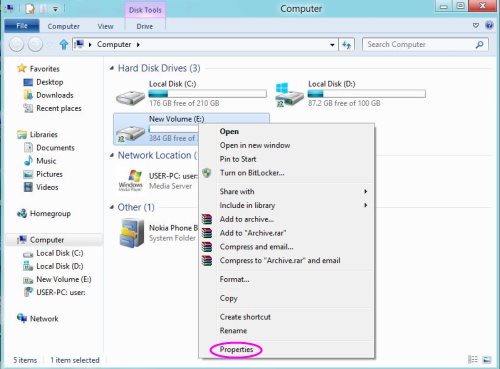
- First lets choose a drive lets say use “D” or “E” drive as your backup disk.
- Now all you need to do is, enable sharing for the required drive.
- Right click on any above mentioned drive and click on properties.
- Select the sharing Window.

- Then, click on advanced sharing.

- Now, select permission to “share permission” for every one.
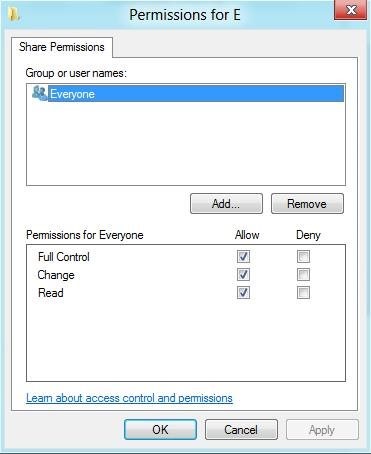
- Hit on “ok ” to finalize your settings.
Note: When the drive listed in the shared location, copy out the network path to change the local drive.
- Choose the required option to replace the existing back up drive path to local drive path.
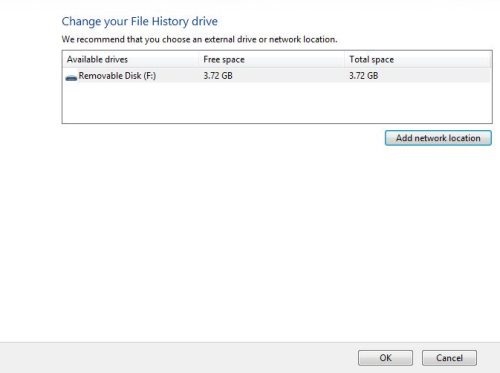
- Now, all your desktop items, libraries would be stored to specified local drive.
Now, enable backup of all data on local drive and restore it, whenever it is required. Taking a backup of data on local drive keeps your data safe and secure. In case you need to restore, you can easily restore all your data from the specified local drive. Read our post on how to restore backup on Windows 8.