How To Disable Or Turn Off Windows 8 Live Tiles
Here is a very short step by step tutorial on how to disable or turn off Windows 8 live tiles. Unlike other Windows version, Windows 8 has got a live tile feature, live tiles are displayed on the start screen of Windows 8. Apps in your Windows 8 are displayed on the start screen in the form of live tiles, so this makes it easy for apps to send you information through tiles on the start screen. Windows 8 also allows you to disable or turn off these live tiles within a couple of seconds. Follow these simple steps to disable or turn off Windows 8 live tiles.
You would also like to check out our recent post on How To set up Extra login passwords for Windows 8.
How To Disable Or Turn Off Windows 8 Live Tiles:
- If you are already there on your Windows 8, then move on to start screen by pressing Windows key.
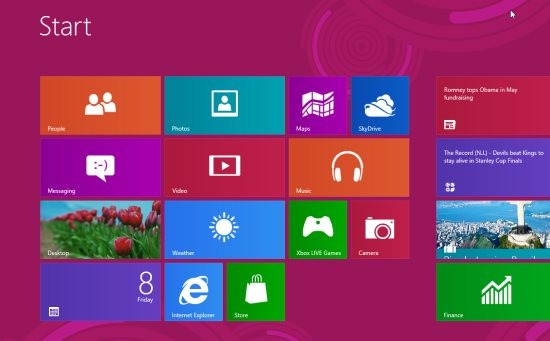
- Once you are on the start screen, select the live tile which you want to turn off or disable by simply right clicking on it.

- Right click on the live tile displays few options at the bottom of the screen.
- Select “Turn Live Tile Off” option, available at the bottom of the screen.

- Yup, that’s all you need to do for disabling or turning off live tiles in Windows 8.
- Now if you right click the same live tile which you disabled earlier, you will come across an option “Turn Live Tile On” for enabling the disabled live tile.
- So, in this way you can disable and enable live tiles in Windows 8.
Follow each and every step mentioned in this tutorial to disable or turn off live tiles in Windows 8.